Introduction
So far, we have conducted a series of step-by-step labs on Zephyr ESP32 Wi-Fi network communication.
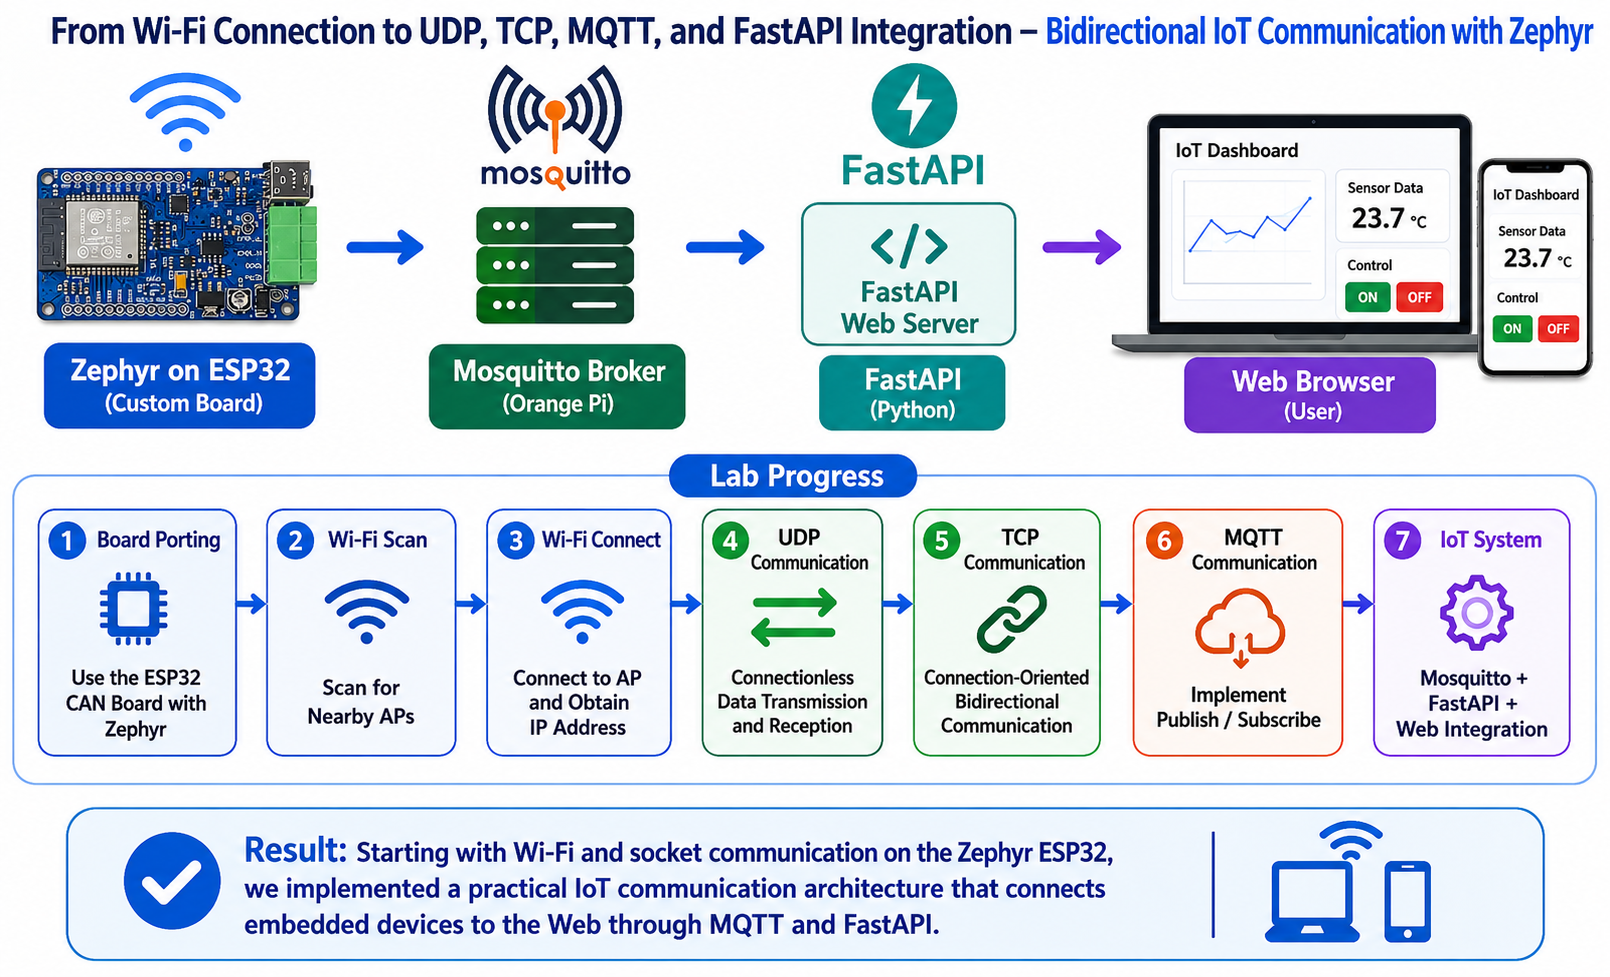
Starting with configuring the ESP32 CAN board as a Zephyr Custom Board, we proceeded with Wi-Fi Scan and AP connection, followed by Socket communication using UDP and TCP, and finally IoT communication using MQTT.
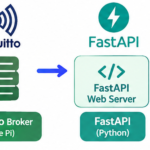
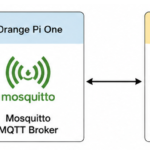
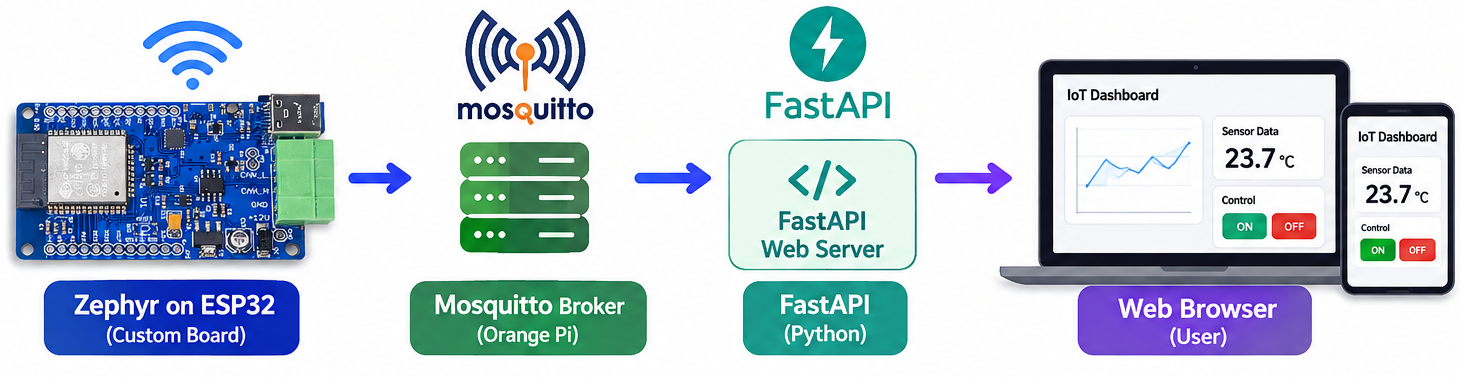
In particular, in the final MQTT lab, we connected the ESP32 to the Mosquitto Broker and FastAPI running on the Orange Pi, allowing data transmitted from the ESP32 to be viewed in a Web Browser. We also verified bidirectional communication by sending commands from the Web Browser and receiving them on the ESP32.
In this article, we will briefly review the overall flow of the labs completed so far and summarize the key topics covered at each stage.
Overall Progress of the Zephyr ESP32 Series
The overall labs were conducted in the following order:
ESP32 Board Porting
        ↓
    Wi-Fi Scan
        ↓
 Wi-Fi AP Connect
        ↓
 UDP Communication
        ↓
 TCP Communication
        ↓
 MQTT Communication
        ↓
 Mosquitto + FastAPI
        ↓
    Web Browser
First, through Custom Board Porting, we configured our own ESP32 board so that it could be used with Zephyr.
Conclusion
In this series, we started with Zephyr’s Wi-Fi functionality and progressively explored UDP and TCP socket communication, followed by MQTT.
Through each lab, we were able to examine Zephyr’s Network Management, Socket API, Thread, and MQTT Publish/Subscribe architecture with practical code examples.
Finally, by connecting the ESP32, Mosquitto, FastAPI, and Web Browser, we completed a basic IoT communication architecture that allows embedded device data to be monitored from the Web and the device to be controlled from the Web.
The links to each article in this series are provided below.
Zephyr ESP32 Tutorial #1 – ESP32 CAN Board Porting and RGB LED Control
Zephyr ESP32 Tutorial #2 – Wi-Fi Scan
Zephyr ESP32 Tutorial #3 – Connecting to a Wi-Fi AP
Zephyr ESP32 Tutorial #4 – Wi-Fi UDP Communication
Zephyr ESP32 Tutorial #5 – Wi-Fi TCP Communication
Zephyr ESP32 Tutorial #6 – MQTT Communication
The following are external resources related to this series. They will be very helpful for further reference.
Zephyr Networking Documentation
Zephyr BSD Sockets Documentation
Through this series, we explored step by step how to use the ESP32’s Wi-Fi networking features with Zephyr, from UDP and TCP to MQTT and Web integration.
This concludes the Zephyr Wi-Fi Networking Lab Series using the ESP32.